“Lo Bak Go”- Chinese Turnip Cakes

img_2154

This one is going into my “Grandma Stephy’s Recipe Book”. Yes, I have a notebook that I have started a few years ago, where I write down some of my favourite recipes. I don’t care if people don’t use paper and pens 200 years later. My great-great-great-great-great- grandkids will read and try out this recipe book.

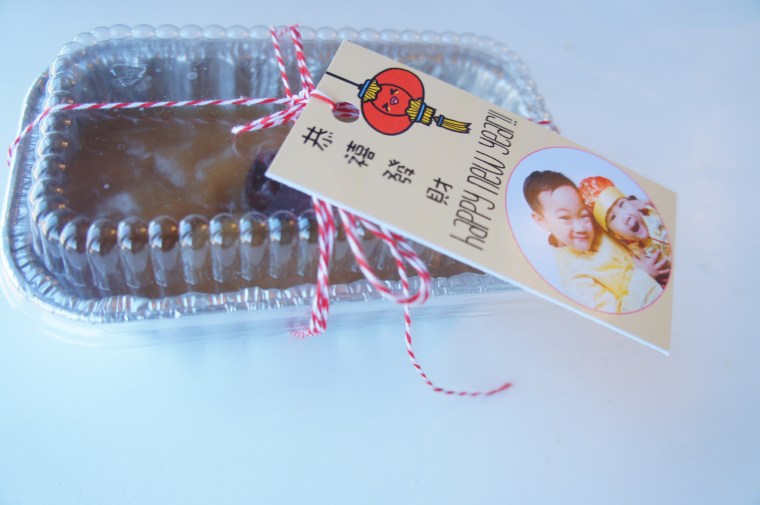
Chinese New Year is coming up again (January 28th, 2017 this year). So in hopes of staying on top of things, I’ve started prepping for it. I’ve already made my “Nin Go making Kit” (I measured out all the ingredients so that it’s SO much faster to make. For my recipe, go hereΒ .) and I wanted to add “Lo Bak Go” to my Chinese New Year food this year.

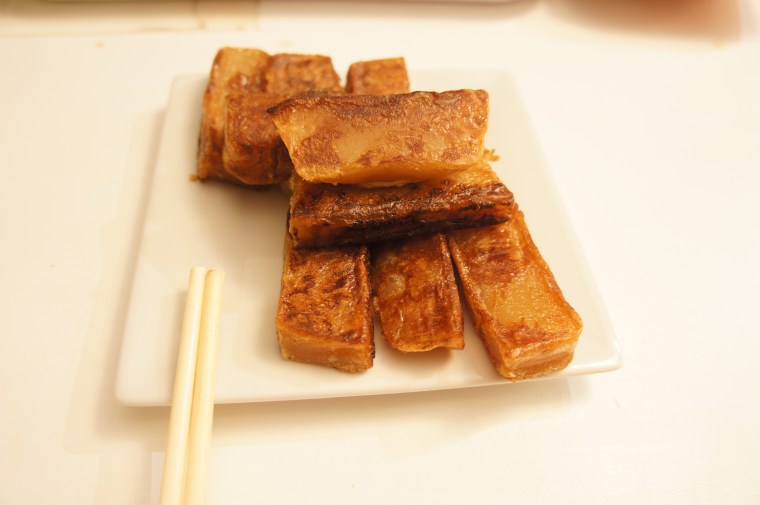
“Lo Bak Go”, or Chinese Turnip Cakes, is a type of savoury cakes that you can often find at Chinese dim sum. If you’ve never had it before, think of it as a “meat loaf” type texture, but made with mostly turnips rather than meat. It can be served steamed or pan fried. I personally like it steamed, with a little bit of soy sauce. Soft, warm, and savoury.

The recipe I’m sharing today is from Christine’s RecipesΒ (This recipe is in Chinese. I tried looking to see if she has it in English, but haven’t been able to find it.) She has a wide variety of recipes, and her Chinese cooking recipes are great for beginners, too! I also have both of her cookbooks and they are super handy to have!

Enough intros. Let’s roll up our sleeves and get ready to work!

img_2159

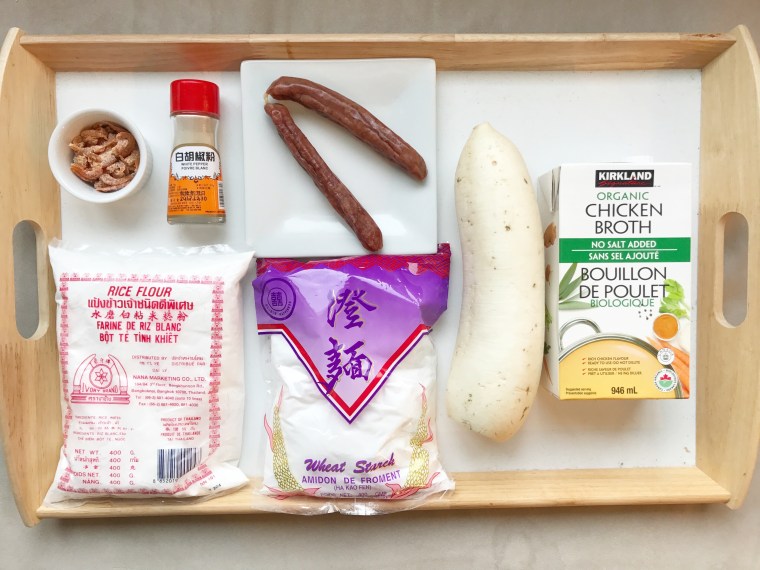
This is what I used for this “Lo Bak Go” (“Lo Bak” is carrot in Cantonese. “Go” is cake. Simple, right? ) You will probably need to stop by your local Chinese grocery store for most of the ingredients (or China town grocery store. Yes, I believe that there’s gotta be a China Town ,or Chinese street, in many cities out there.)

The sausage looking thing is Chinese preserved sausages. They can be chicken, pork, beef, or even turkey. I just took whatever ones I have from my fridge. Richard happens to like to throw one or two into the rice cooker to cook with the rice. And now my boys like it, too…sigh. And then there’s the dried shrimp. Can I call it shrimp even though they are so tiny? You will probably need to get them from the Chinese grocery store as well.

In terms of the rice flour and wheat starch, you might be able to find it in your neighbourhood store. If you go to the Chinese grocery store around January, these ingredients should be very easily accessible. That’s when lots of grandma’s like to make Turnip cake for Chinese New Year. Yes, I called myself a grandma. Darn proud of it! Just wait until I’m actually one. No pressure Jordan, Julian. I can wait for another 25 years. πŸ˜€ .

Here comes the “fun” part. The very reason why I don’t usually make “Lo Bak Go”. The prep work….

img_2158

Soak the dried shrimps in warm water to soften up. At the mean time, quickly boil the sausages in hot water for a few minutes. Dice it all up! If you like to have chunky pieces, then just rough chop them. I do have to warn you, if you have them too chunky, these pieces will fall out of your “Lo Bak Go” when you eat them. No big deal, just personal preference. I usually mince the dried shrimp because I know my boys would find them too crunchy, but they do give good flavor.

Then, set up your Netflix, pull up a chair, and grate those turnips. You can tell that’s my favourite part of the process (sarcasm intended…). Come to think of it, THAT’S WHY my right bicep hurt the other day! Don’t say I didn’t warn you. You don’t have to grate them too finely, because you still want some texture.

All the prep work done? Next….

img_2157

Heat up a frying pan, add oil, and stir fry the preserved sausages until fragrant. Add in the dried shrimp and do the same πŸ™‚ . Put it aside. Β It smells really good hehehe πŸ˜€

img_2076

Using the same pan, cook the grated turnip (with its juice). Sprinkle with salt and white pepper. Cook with lid on for 10 minutes on medium-low heat, or until turnip become transparent and soft. You should have more fluid than you started out with at this point. Depending on how much water is in your particular turnip, you might have more or less. Add in the chicken stock (or vegetable stock/water) and cooke for another 5 minutes.

Now mix in the rice flour and wheat starch. I usually mix half first and then the other half. If it’s too thick, add more fluid. You can decide how soft or dense the texture of your cake is at this point: if you like it softer, add more fluid. It should be the consistency of a thick but easy to stir paste. You don’t want to see anything too mushy or liquidy (so add the fluid slowly). If you like it more dense, you may add a little more stock and keep it at a dough like consistency. After a few times making “lo bak go”, you will find your preference. Just remember that, if it’s too soft, you may have a hard time slicing the “lo bak go”. In that case, just eat it as steamed “lo bak go” and make another batch but denser for the pan fried ones!

Then add back in your preserved sausage and dried shrimp.

img_2156

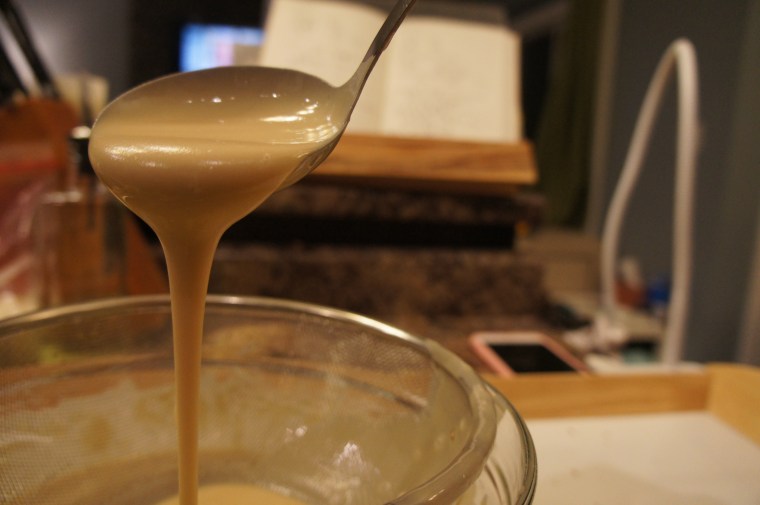
This is what I ended up with. I tried to “show” the consistency in the picture by pressing down on the batter. It’s soft but not liquid-like. After this, pour it into an oiled pan and steam for 45-60 minutes, or until a tooth pick comes out clean. You’ll have to adjust the time depending on the depth of your container.

img_2155

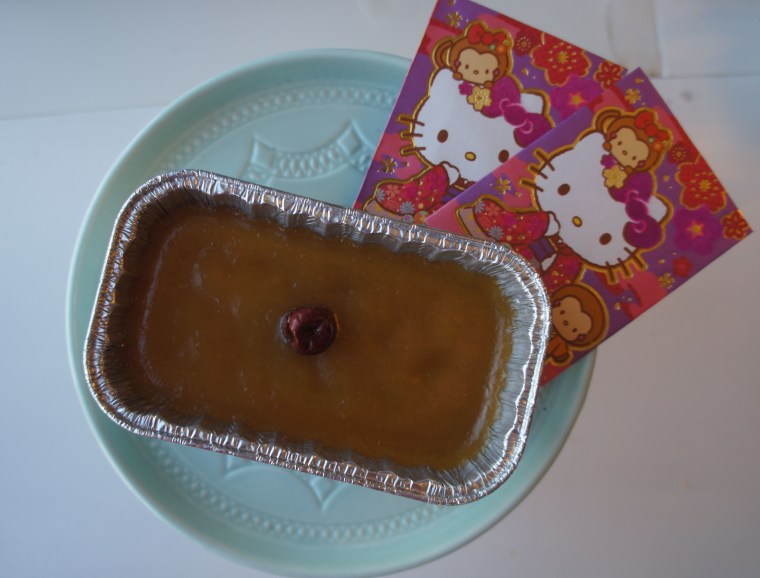
I always make mine in a round pan. From what I know, the Chinese culture sees the circle shape as a symbol for completeness and togetherness. So on Chinese New Year, being the new beginning, we like to make/have/see things in this shape.Β It does make slicing it in uniform pieces difficult but I’m not concerned about that. If you want to be able to slice them in the same size, like they do at dim sum, make them in a loaf pan. Super flexible.

To serve, slice and pan fried with some oil on medium heat until golden! My boys like to eat them as snacks or for breakfast. Julian can eat a good 6 pieces in one go! That boy can eat, let me tell ya.

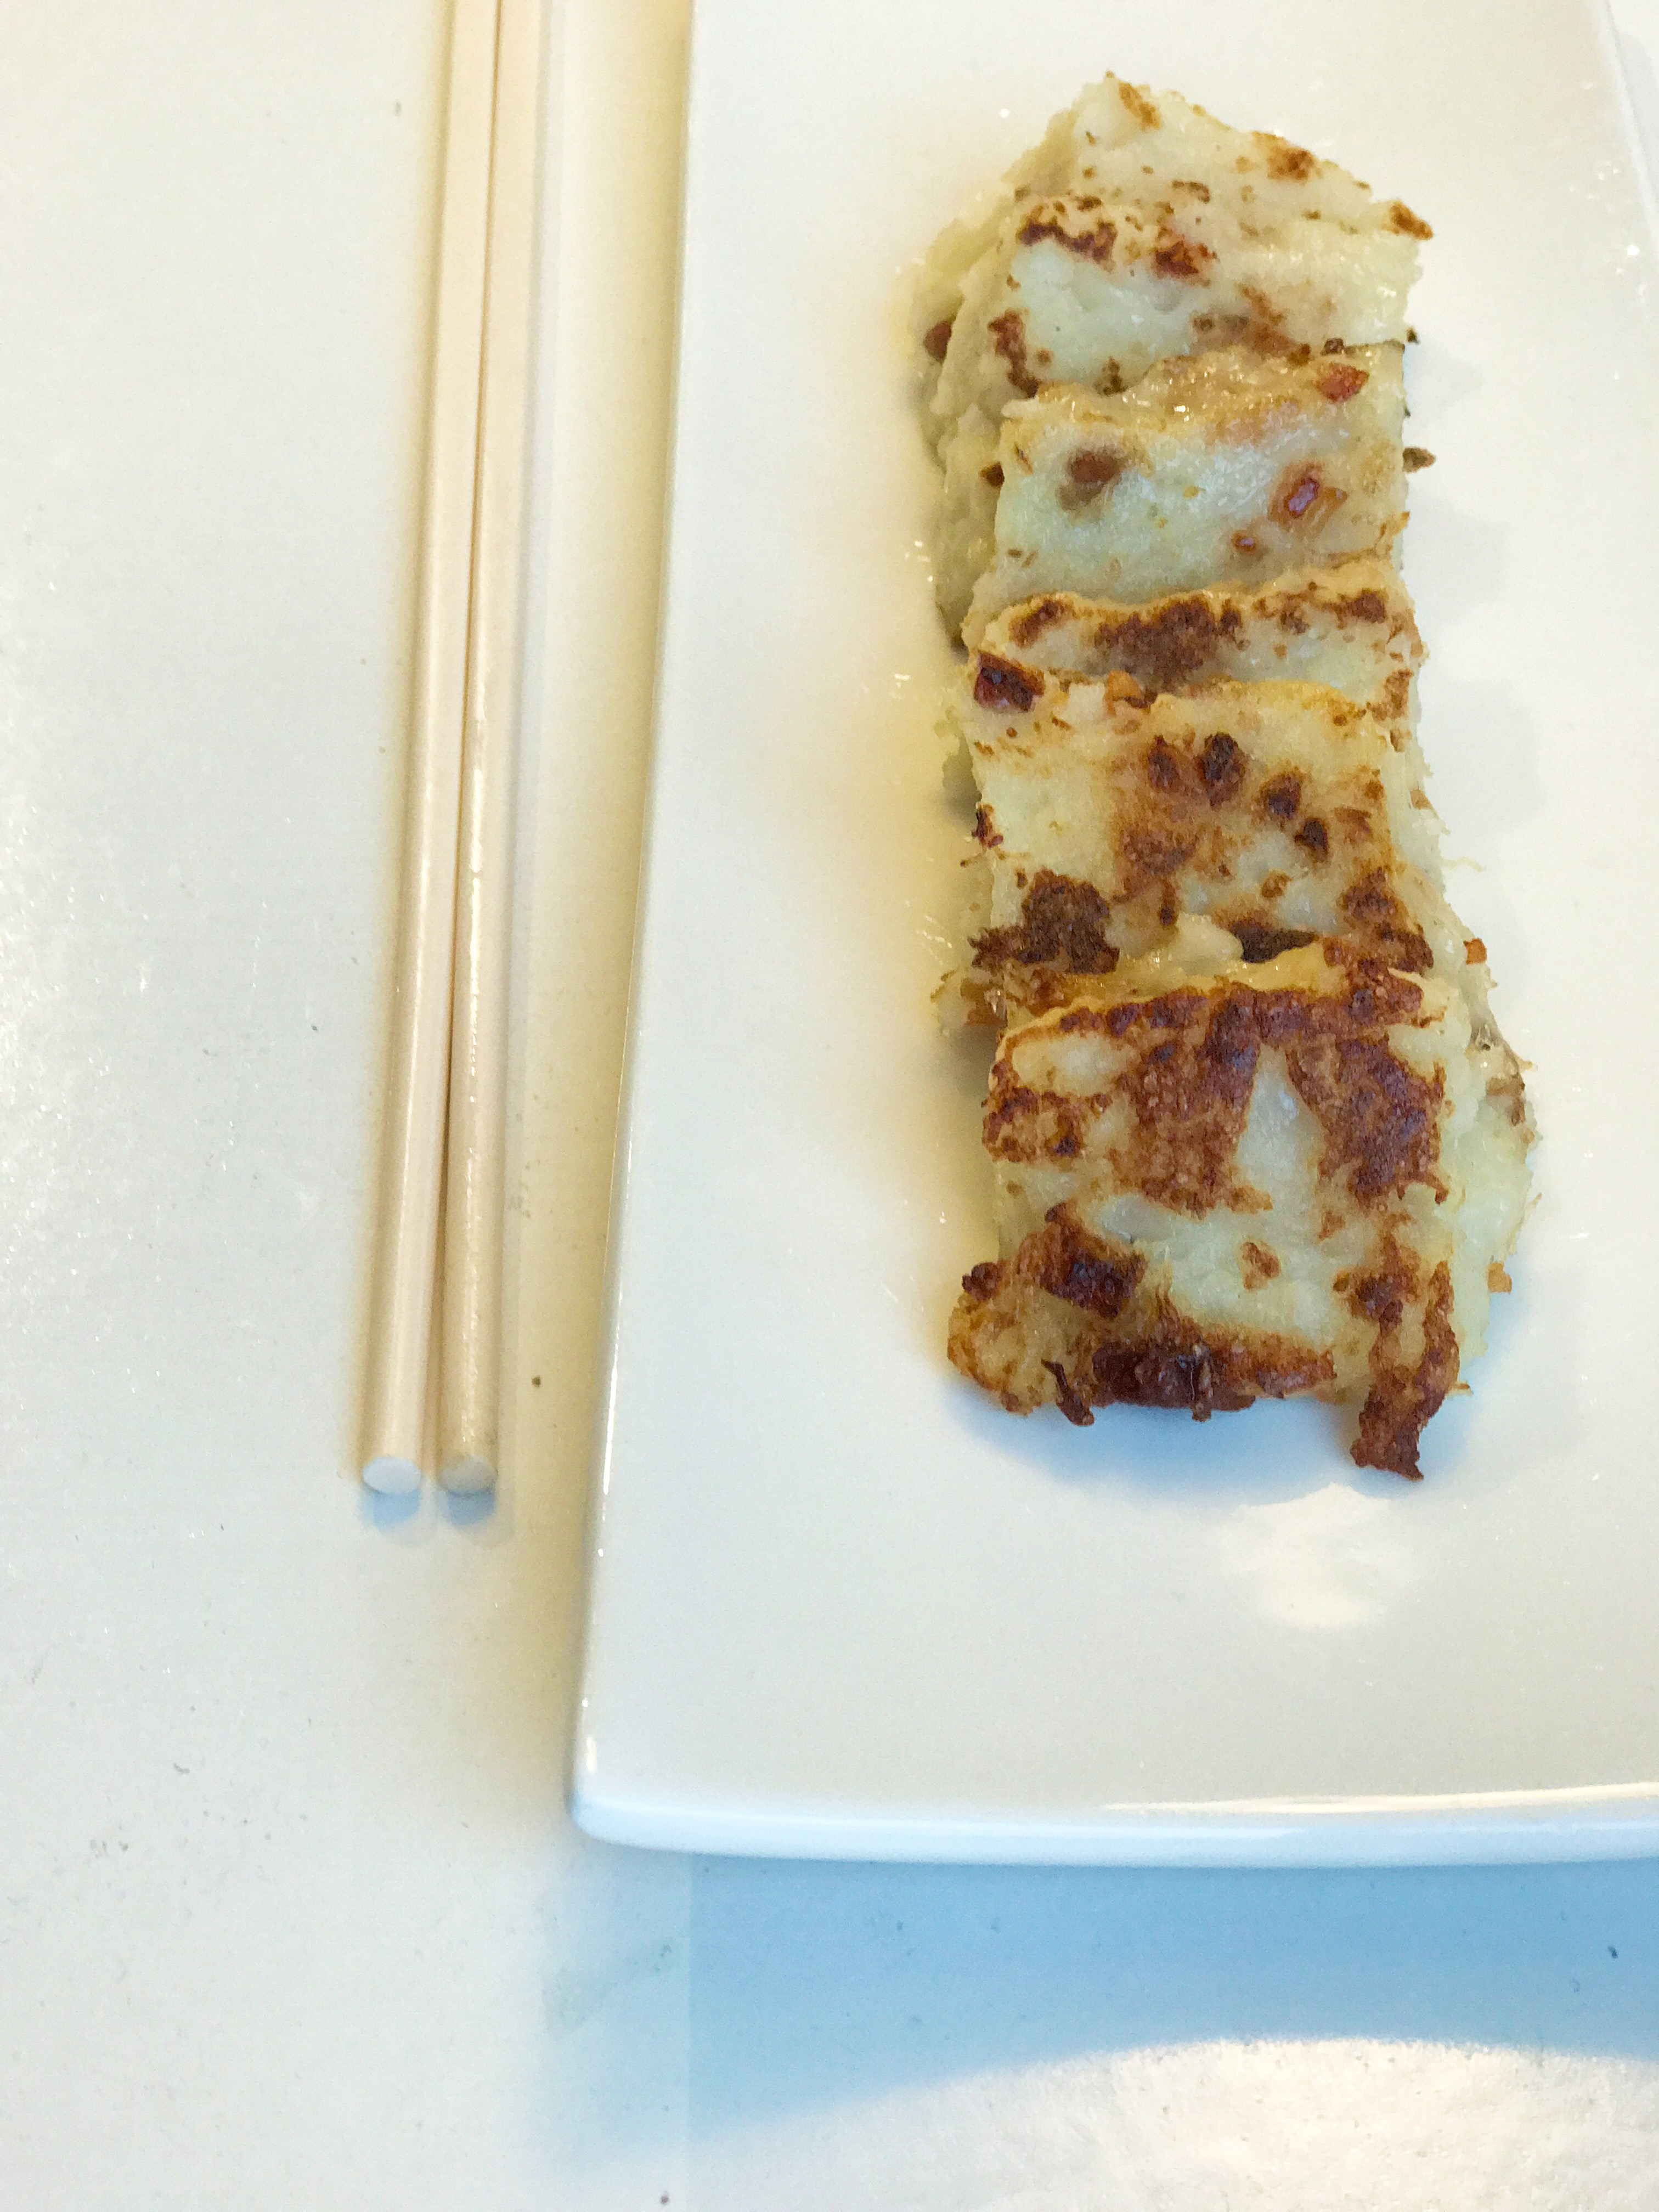
I hope that when someone asks my kids and my grandchildren about what kind of Mom/grandma I was like, one of the things they would tell them that I inspired them to learn about my culture/language because I always cooked yummy food. That they remember watching me make it for them, or making it with them. Because that’s what I think about when someone asks me about both my grandmothers. ❀

Thanks for reading,

Chat soon,

Stephy


Lo Bak Go (Chinese Turnip Cake)

Recipe adapted from Chirstine’s Recipes

Β 1 kg turnip (usually about 1 1/2 of turnip)

1 1/4 cup rice flour

4 tbsp wheat starch

1-2 pieces of Chinese preserved sausages , or “lap cheong”

1/4 cup dried shrimps

salt and white pepper

3/4-1 cup of chicken broth/vegetable stocks

1. Soak the dried shrimps in warm water until softens, about 15 minutes. In the mean time, blanch the preserved sausages for 2-3 minutes. Dry well and dice finely.

2. Wash, peel, and grate the turnip.Β 

3. Combine the rice flour and wheat starch. Mix well.

4. Heat up a large pan/wok, add a 1-2 tablespoons of oil.Β SautΓ© the preserved sausages over medium heat. Stir in the dried shrimp andΒ sautΓ© for a few more minutes. Remove from pan and set aside.

5. Using the same pan, cook the turnip on medium heat until soft and translucent. About 10 minutes. Sprinkle in salt and white pepper. Remove from heat, add rice flour and wheat starch,Β stirring it into a thick batter. Stir in theΒ preserved sausages and dried shrimps.Β 

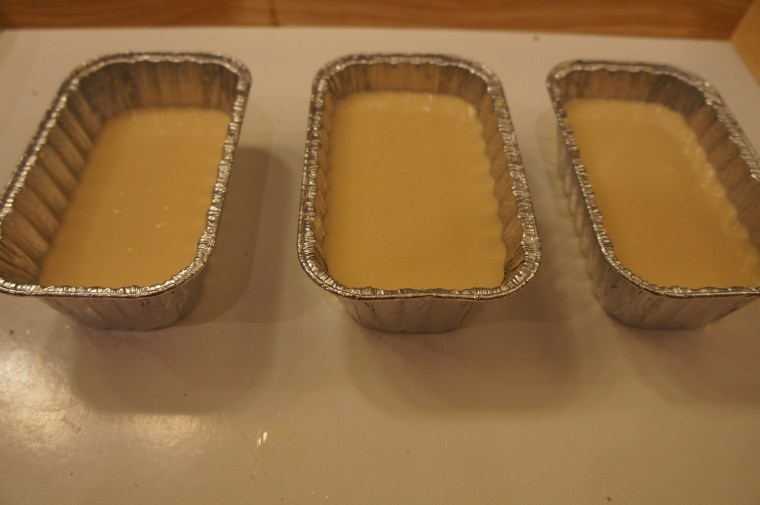
6. Pour the mixture into an oiled pan (I used an 8″ round cake pan) and steamed over high heat for about 45-60 minutes. Make sure you have enough water for the whole cooking time.Β 

7. Let cool completely. The cake can be kept in theΒ refrigerator for 2-3 days. To serve, slice into pieces and pan fry both sides on medium heat, until golden brown.Β 

***Note: I omitted a few ingredients from Christine’s recipes due to eating preferences.

Chinese Stewed Beef Brisket in Chu Hou Sauce

SONY DSC

I’ve recently discovered that food is one way I express care and love. You JUST found out? You ask. Ya, a little late but better than never.

The Chinese Stewed Beef Brisket in Chu Hou Sauce is my go-to dish. It’s fancier than stir-fry. It’s a treat for all my Ung boys at home. It’s convenient because you can make it the night before or freeze it after. It goes with any sides (rice, noodles, potatoes, bread.) I’ve made it for potluck, when we have company over, or as gifts to friends and family as a token of appreciation/support.  Is this my favourite dish to eat? No. I make it because I care about the people that I made this dish for. If I make this for you, it shows you mean something to me.

Ready?

So here’s what you will need. If you are not familiar with the asian sauces, hopefully the pictures will help you find them!

SONY DSC

These are the ingredients that you will need: Beef brisket, star anise, rock sugar, ginger, and daikon.

beefbrisket3

And these are the main sauces that you will need. You should be able to find them at your local asian grocery store or stores in China Town. Show them this picture and they should be able to help you find them! Obviously they are available in different brands but it should still have the same name.

So, the brisket. This is usually what it looks like when I buy at the store. Try to pick one(or ask your butcher to pick) that is not too fatty. Or else you wouldn’t have much meat left after it’s been stewed. One of these usually is about 2 lbs.

beefbrisket4.jpg 
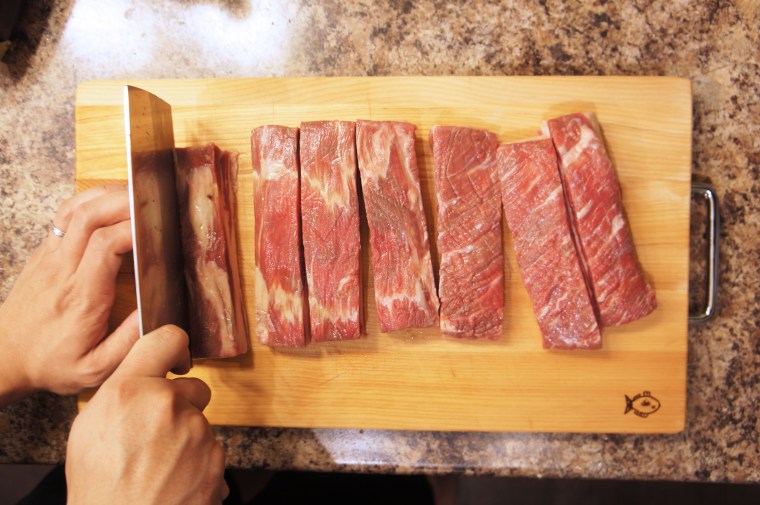
If you are lucky, or if you smile really big and ask really nicely, your butcher might decide to be helpful and cut the brisket into cubes for you at the store! In my case, sometimes, the butcher does it for me (I’ve only had that luck maybe 2 out of 5 times…worth a try though!), sometimes, I just smile and ask Richard really nicely. Hee hee! I don’t really like cutting big slabs of meat….

beefbrisket5.jpg

You cut the brisket into bite size cubes. I like them on the smaller size but it really depends on the piece of brisket that you got. If it is quite fatty, you will want to cut them into larger cubes so that there’s still meat left  after the fat melts away during the stewing process. Up to you! And yes, these are not my hands. I asked Richard really nicely today to help cut the meat so I can take the photos πŸ™‚ !

SONY DSC

In Chinese cooking, sometimes we blanch the meat before further cooking it. Place meat in a pot of cold water with a few slices of ginger, green onion, and Shao Hsing cooking wine. Bring to a boil and let it cook for 5-8 minutes. You will see the excess fat and blood in the water as you boil. Rinse meat in cold water immediately to stop the cooking process.

When you are done blanching the brisket, make sure you drain all the access water so that it will sear well and seal in the juice and caramelize nicely. I use my Le Crueset dutch oven when I make this dish. I totally love it! You can use any large size pot that you have, too!

SONY DSC

Sear the brisket in hot oil with a few slices of ginger. They don’t have to be perfectly seared on all four sides. As long as most of them are getting some color. This helps enhance the flavor of the brisket. When I’m feeling really lazy, I skip this step. It’s not a huge difference.

Then you are going to add the Soy Bean Sauce and the Chu Hou Sauce and let the sauce heat up with the brisket for a minute. I couldn’t take a picture of it because this is a quick process. The sauce will begin to burn if you let it cook too long. Just mix it until it is fragrant and most of the brisket are coated in the sauce.

Then you add the water, rock sugar, and the star anise. Bring it to a boil, and then simmer it with the lid on.

beefbrisket8.jpg

You can smell this, can’t you? πŸ˜€

Now, the daikon. No, I didn’t forget them! After you have stewed the beef brisket for about an hour and a half (or two hours, if you want them to melt in your mouth. Richard likes it with more of a bite to them still.) Cut up the daikon and put them in the pot! Stew everything for another 30minutes.

beefbrisket9.jpg

If I’m making this dish the night before, I usually just put the daikon in, bring it to a boil, and turn the heat off to let it sit on the stove. The residual heat, along with my dutch oven, will cook the daikon, but not enough to break it down. When I’m ready to eat it the next day, I just have to heat it up, and the daikon would be perfect. Not too mushy, not too hard.

When you are ready to serve the beef brisket, pour in a corn starch mixture (with oyster sauce, sugar, cold water, and corn starch) to thicken up the sauce so that it coats the beef brisket.

beefbrisket10.jpg

And you are ready to serve!! I LOVE rice, so I always have mine with rice. You can always serve it in broth with noodles, or you can serve it with flat bread or a bun! Whatever you are in the mood for!

SONY DSC

Writing this post makes me hungry…. I think i have some left over stewed beef brisket in the freezer…

A great Sunday dinner. Comfort food. Leftovers for lunch (or no left over!). Give it a try and comment to let me know how it goes!

Chat soon,

Stephy

Stewed Beef Brisket in Chu Hou Sauce

Ingredients

*2-3lbs (or 1-1.5Kg) of Beef Brisket

*1 Daikon (about 800-1000g, depending on how much you like them)

*4-5 slices of Ginger (the size of a large coin and about 1/8′ thick)

*3 Star anise (I really like the flavour of Star Anise so I might even do 4 for a larger pot)

*1 piece of rock sugar (about the size of a large grape, 20-30 g)

*1 green onion

*2 tbsp Shao Hsing cooking wine

*1-1.5L water (enough to cover the brisket)

Sauce

*3 tbsp Chu Hou Sauce

*2 tbsp Soy Bean Sauce

Thickening Sauce

*2 tsp oyster Sauce

*1 tbsp corn starch

*2 tbsp water

What to do:

  1. Blanch the brisket with 2 slices of ginger, green onion, and Shao Hsing cooking wine. Drain well.
  2. Sear the brisket with the rest of the ginger on medium high heat until most of the pieces have caramelized.
  3. Add in Chu Hou sauce and Soy Bean sauce and stir quickly so it doesn’t burn.
  4. Add in enough water to cover the beef brisket. Add in rock sugar and star anise. Bring to a boil.
  5. Reduce heat to low and stew for 1-1.5 hours(until tender). 
  6. Add in the daikon. Bring to a boil, and reduce heat to stew for another 30minutes (or more if you like the daikon softer).
  7. Just before serving, pour in the thickening sauce and bring stew to a boil again.
  8. Serve hot with rice, noodle soup, or a bun!

Note: This dish freeze well. I usually let it cool down and put it in a large ziplock bag.

Enjoy!

Thanks for reading!


Chinese New Year Cakes

ningo1.jpg

Chinese New Year Cakes are like Β a taste of childhood. They are warm, sweet and chewy, with a hint of ginger or coconut flavour. I began making my own Chinese New Year Cakes a few years ago, while I was pregnant with Jordan. At the time, I was thinking about the family traditions that my new family would have. I asked myself, “What will my children remember about their childhood?”

I knew right away that I would want my children to remember something special about Chinese New Year. Yes, they will, of course, remember the red envelops that they are going to get, but I want them to remember “the taste of Chinese New Year”. So I decided to start with the New Year Cakes. I will call them Nin Go from here on (The Cantonese name).

There are generally two types of Nin Go: Ginger Cane Sugar and Coconut. I personally likes the ginger one more, so that’s the only one that I make :). Richard loves anything chewy and sticky so Nin Go is perfect for him. He often eats half a Nin Go in one sitting.(Word of caution here, Nin Gos are quite filling. Eating too much in one go will result in the “clomp in your tummy”kind of feeling! Haha! Don’t say I didn’t warn you!) Either kind of Nin Go is super easy to make, and ingredients are easily accessible at your local Chinese market. So take a look and what I have here and give it a whirl!

Since I usually make the Ginger Cane Sugar Nin Go, that’s what you will see here in this post. You can easily adapt the recipe to make Coconut Nin Go πŸ™‚ !

Ready? It’s super easy to make and very low maintenance. First, your ingredients.

nin go2.jpg

These, my friends, is all that you will need to make Nin Go. You can easily get them at your local Chinese grocery stores. (The coconut milk here for this Nin Go is optional. I use just a table spoon of it for a hint of color and flavour. You can omit them if you don’t want to have to wonder what to do with the rest of the can of coconut milk.)

I start by making the cane sugar syrup for the Nin Go. Boil 2 cups of water, 300g of the cane sugar, and a few slices of ginger together for a few minutes until the cane sugar dissolves. Let the mixture cool (I just pop it in the fridge for half an hour.)

DSC02484.JPG

When your sugar syrup has cooled to room temperature, add in 1 tbsp of the coconut milk (if you choose to). At this point, you can add the syrup to the flour mixture. Does it really matter what you add to what? The answer is, I have tried both ways and I don’t notice a difference πŸ˜› . So do as you like! The mixture will be clumpy but don’t worry! These will help:

nin go3.jpg

It doesn’t really matter what size of a sift you have. Of course the bigger the easier, but whatever gets the job done! Run the batter through the sift twice to ensure a smooth batter. Your batter should run like a thin pancake batter.

DSC02487.JPG

If you find your batter too thick, just add a couple of table spoons of water to thin it down. Β I find runnier batter result in a softer Nin Go. Just make sure that you don’t put too much water in or else you’ll have a blob of Nin Go instead of something that has a shape.

And the Nin Go is ready to be poured into the containers and steamed!! This recipe will fill an 8″ round pan (about 3/4 full), or a few of these small loaf pans.

DSC02488.JPG

I usually steam the 8″ size for about an hour on medium high heat (on my stove it’s 8), or 50 minutes for these little guys in the picture. As soon as they are done, I like to put a red date in the middle for decoration. Just a pop of color πŸ™‚ ! Then I leave them in the steamer to cool off.

SONY DSC

Tah Dah!!!

Richard, my hubby, likes to eat them fresh and warm as it is. Or you can also prepare them the traditional way: dip them in eggs and pan fry them on low until golden brown and soft. If you use medium heat or higher, you will burn them before they become soft and chewy! Good food takes patience!! The best thing that I love about Nin Go is that they can last a while in the fridge. Yes they may look like they have hardened, but as soon as you pan fry them, they will be soft as new!Genious, right?! Make sure you always serve them hot/warm. If they even last that long for them to cool off, you can always microwave it for 10-15 seconds to warm them up again!

This year, I have made many batches of Nin Go for friends and family. It’s my way of wishing them a good year, and a token of love from me to them. I made little Chinese New Year gift tags to go with them! I love that picture of my boys:)

DSC02499.JPG

And that, my friends, is my Chinese New Year Nin Go! It will be Chinese New Year tomorrow, but It’s not too late to whip up your first batch of Nin Go to celebrate! We wish you a wonderful and prosperous year of the Monkey, and may you and your family fill this year with many happy memories. Gong Hei Fat Choi!! Happy New Year!

DSC02492.JPG


Stephy’s Nin Go Recipe

Β  2-1/2Cups of glutinous rice flour

Β 300g of cane sugar

1/2cup + 2 tbsp wheat starch

2 cups of water

1 tbsp of coconut milk (optional)

a few slices of ginger (about the size of a large coin. More if you like ginger flavor, like me)

1. Make sugar syrup by boiling the 2 cups of water on the stove. Add in cane sugar and ginger. Let the syrup cool to room temperature.

2. In a large mixing bowl, mix the glutinous flour with the wheat starch.

3. When the syrup has cooled off, add into the flour mixture. Mix until combine. Batter will be clumpy.

4. Sift the mixture twice to dissolve everything.

5. Oil the containers, pour batter into the containers about 3/4 of the way. Be careful not to over fill them as it will be difficult for you to put them into the steamer.

6. Steam Nin Go for 50minutes to 1 hour. You know your Nin Go is done when you test it with a skewer and the skewer feels sticky inside the Nin Go.

7. Enjoy it fresh and warm as it is, or dip them in eggs and pan fry them on low for a golden, warm, and decadent treat!

I have combine several recipes and adapted them to make this my very own Nin Go recipe. Should you want to share it on your site, I would appreciate it if you would credit to this site or to link to my blog. Thanks! πŸ™‚