

Just how did I discover Mala necklaces?
I think it was one of those days when I felt like I needed something to re-energize myself. Something that will lift my spirit up, like a mantra or an affirmation, something that will re-direct my energy. So I googled and , one thing led to another, I stumpbled upon a picture of a pretty beaded necklace with a tassel— Mala necklaces.
Now, I’m not religious, just to put it out there. I do, though, believe that our thinking affects our energy, and visa versa. So since I was gathering some new affirmations and mantras, I thought I could use a Mala necklace (plus, they are pretty 🙂 ) The “Type A” in me says, “I must have one NOW!” , and I proceeded to research on how I can make one for myself. There are many tutorials out there on how to make it, and here’s how I made mine.

I went to Michaels the next day (Michaels was already closed when I was researching…so I kind of had to wait …haha), and they happened to have a sale on their beads (it’s so meant to be!). I got some amazonite, white howlite, and white quartz. I did some quick research on gems and stones and their “abilities”, but I based my decision largely on the colour combination. Mala necklaces have 108 beads on them. It usually includes a guru bead, which is a larger bead/stone that tells you you have completed one round of chanting. I didn’t see any larger stone that I liked at the time so I went with a small little buddy charm in place of the guru bead. You can do what works of you. If you are using the Mala necklace as an accessory, then I think a charm (or a few) would be really cute. I love the tassel on the Mala necklaces I saw online, so I got some embroidery floss to make my own tassel. Of course it had to be pink 🙂 .
Map out the pattern or design of your necklace. There are a few styles of Mala, depending on how you like your beads grouped. You can string all 108 beads just one after another, or you can separate groups of them with a marker bead (does not count as one of the 108 beads). I grouped mine like so: Charm-7-marker bead-14-marker bead – 66 – marker bead – 14- marker bead- 7. I just used a small clear bead as the marker bead.

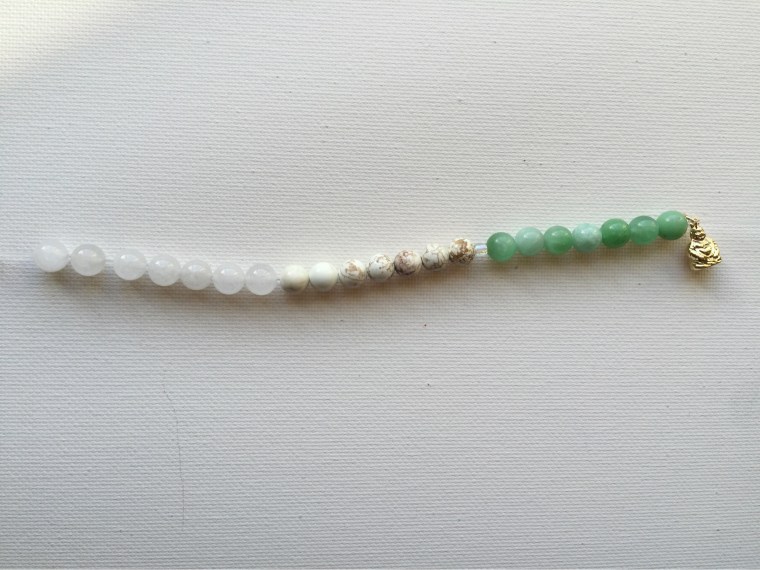
After you have your design figured out, start stringing! I started with the charm and went all the way around. If you are a scattered brain like me, may I suggest that you count the beads and group them prior to stringing. Saves you recounting every 20 seconds. And maybe you shouldn’t be watching TV at the same time…just saying~

Keep going until you have all of your 108 beads on your string. I did not count my charm as one of the 108 beads, in case you are wondering. If you are happy with it, tie a double knot to close it up, and put a dab of the E6000 craft glue on to secure the knot. I found the stretchy string doesn’t knot every well so the glue is for sure a good idea. If you are using silk string or other fabric string that is less slippery, you can probably omit the glue.
 Now onto the tassel. Find a piece of card stock that is the desire length of your tassel (mine happens to be the packaging of my stretchy string (Less stuff to look for!). Wrap your embroidery floss around it numerous times. The more you wrap it around the card stock, the thicker/fuller your tassel will be. When you are done, slip a short string of the embroider floss across the top part of the tassel and tie a knot. Slip the tassel off the card stock, and wrap the short string around the entire tassel again and tie a knot. Snip the extra sting (the left over short strings after you tied that knot.)

To attach the tassel onto your necklace, slip another short string through the top of the tassel and secure the tassel to you necklace (See photo above). I placed mine beside the little budda charm. Comb out the tassel with your fingers, and trim a bit off the end of the tassel to create a straight, clean finish.

Voila!
I am totally loving my DIY Mala necklace! As an accessory, it brings a simple outfit together. It goes well with a sundress, T-Shirt and jeans, or over your yoga wear. Plus it gives me something to fidget with. As a meditation tool, I found it helps me even just to play with the beads throughout the day when I need a quick reminder of my affirmations. My next goal is to get into some sort of habit of meditating. Even if it’s just minutes every other day.


Let me know if you have any questions. And please tell me how you like your new DIY Mala necklace! Thank you for reading ❤ !
Chat Soon,
Stephy
DIY Mala Necklace
Materials: (I got mine from Michaels. You can find them at most craft and arts stores or online.)
-108 beads of your choice. Make your decision based on the stones you like or your colour scheme.
-A charm or a guru bead
-Marker beads. If you choose to use them.
-Stretch string or silk string
-Embroidery floss, if you are making a tassel.
-Scissors
-E6ooo craft glue

Very nice DIY
LikeLike
Thank you!! Thanks for reading 🙂
LikeLike
This is beautiful! I want to make my own now. In terms of meditation and mindfulness, I found books by Thich Nhat Hanh very helpful. I just finished Peace Is Every Step and I highly recommend it. The Miracle of Mindfulness is next on my list.
LikeLiked by 1 person
Thanks!! You should totally make one. It took me all of half an hour (minus the counting and recounting of the beads lol. I think I’m seen Thich Nhat Hanh before but I haven’t looked into it! It’s now going on my list!! You have to show me your Mala when you make it!!
LikeLike